Suppression Lists
Suppression lists allow you to prevent emails from being sent to specific email addresses. This is crucial for maintaining good deliverability and compliance with email marketing regulations.
Broadcast supports two types of suppressions:
- Channel-specific suppressions: Block emails for a specific channel only
- Global suppressions: Block emails across all channels in your application
Understanding Suppressions
When an email address is added to a suppression list, Broadcast will automatically prevent any emails (broadcasts, sequences, or transactional emails) from being sent to that address. This happens automatically during the sending process.
Channel-specific vs Global Suppressions
- Channel-specific suppressions: These email addresses are suppressed only for the current channel. They can still receive emails from other channels.
- Global suppressions: These email addresses are suppressed across all channels in your application. They will not receive any emails regardless of which channel is sending them.
Important: Suppressions are permanent until manually removed. Make sure you're adding the correct email addresses to your suppression lists.
Accessing Suppression Lists
To access suppression lists, navigate to Settings → Global Suppression in your channel dashboard.
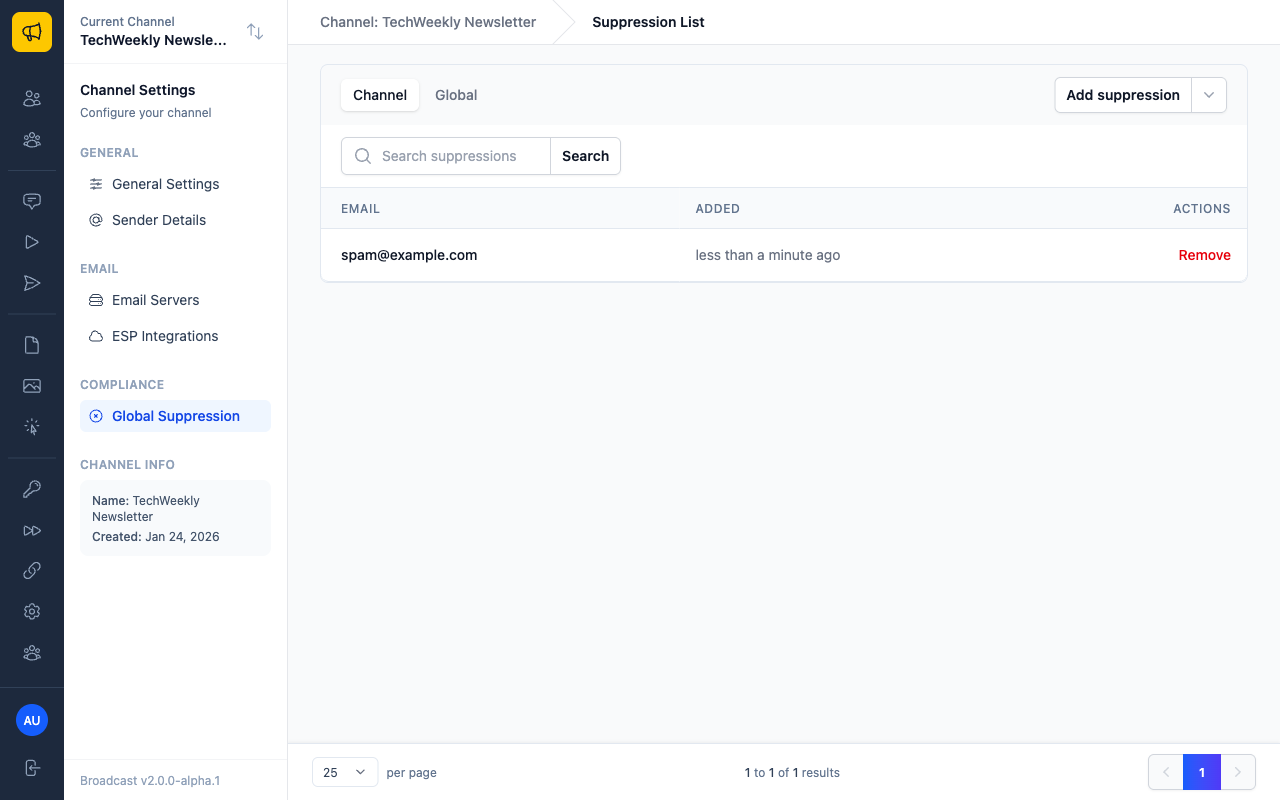
You'll see two tabs: - Channel: Shows email addresses suppressed for the current channel only - Global: Shows email addresses suppressed across all channels

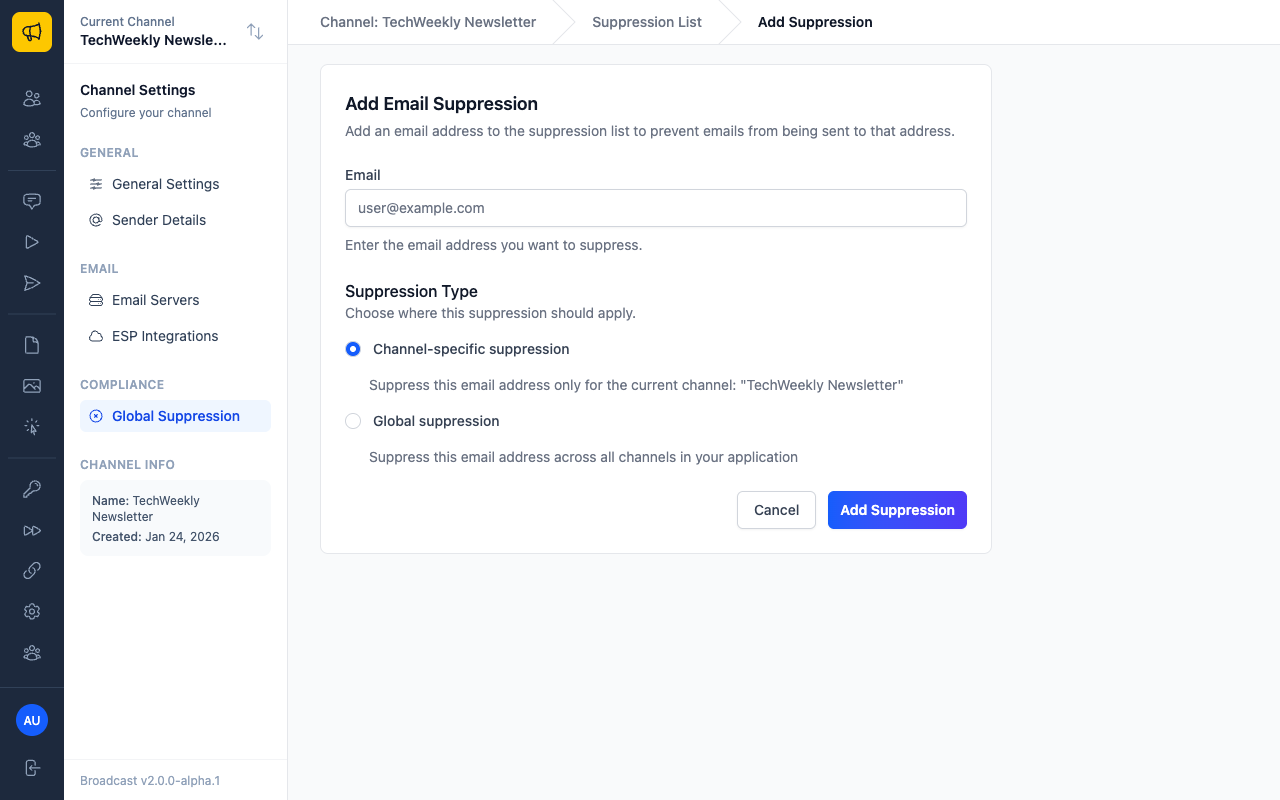
Adding Individual Suppressions
Single Email Address
- Navigate to Settings → Global Suppression
- Click Add suppression
- Enter the email address you want to suppress
- Choose the suppression type:
- Channel-specific suppression: Suppresses emails only for the current channel
- Global suppression: Suppresses emails across all channels
- Click Add Suppression
Bulk Upload Suppressions
For larger lists, you can upload multiple email addresses at once using a text file.
Preparing Your File
- Create a plain text file (.txt extension)
- Add one email address per line
- Ensure each email address is properly formatted
Example file content:
[email protected]
[email protected]
[email protected]
Uploading the File
- Navigate to Settings → Global Suppression
- Click the dropdown menu next to "Add suppression" and select Upload email list
- Choose your suppression type:
- This Channel Only: Suppresses emails only for the current channel
- All Channels (Global): Suppresses emails across all channels
- Select your text file (maximum 10,000 email addresses per file)
- Click Upload Email List
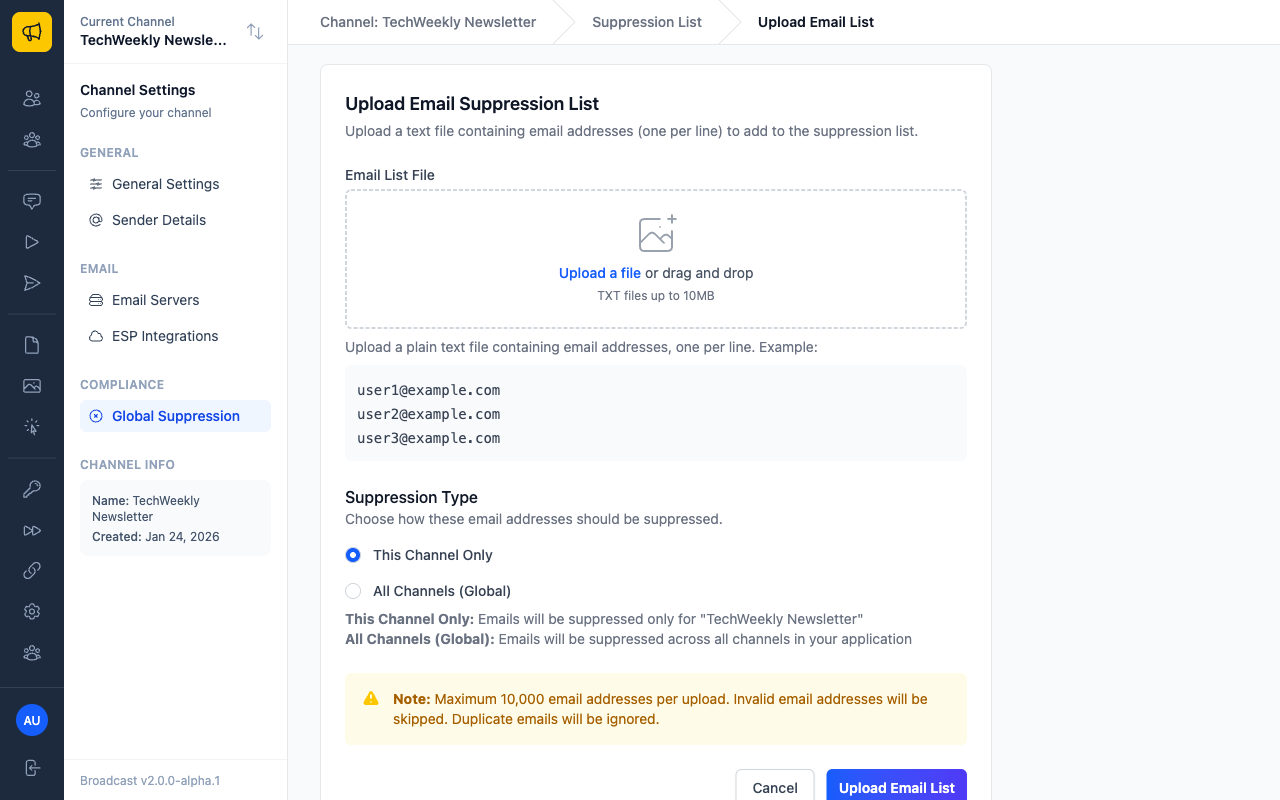
Broadcast will process the file and provide a summary of: - How many email addresses were added - How many were already suppressed (skipped) - How many were invalid (skipped)
Tip: Only plain text files (.txt) are supported for bulk uploads. If you have your list in a spreadsheet, export it as a text file with one email per line.
Managing Suppressions
Viewing Suppressions
The suppression list interface allows you to: - View all suppressed email addresses - See when each suppression was added - Search for specific email addresses - Filter by suppression type
Searching Suppressions
Use the search box to quickly find specific email addresses in your suppression lists. The search will match partial email addresses, making it easy to find all suppressions for a particular domain.
Removing Suppressions
To remove an email address from the suppression list:
- Navigate to Settings → Global Suppression
- Find the email address you want to remove (use the search box if needed)
- Click Remove next to the email address
- Confirm the removal
Warning: Once you remove an email address from the suppression list, it will be able to receive emails again. Make sure this is intentional.
How Suppressions Work
Automatic Checking
Broadcast automatically checks all suppression lists before sending any email:
- Broadcast emails: Checked before sending to each subscriber
- Sequence emails: Checked before each sequence step is sent
- Transactional emails: Checked before sending via API
Priority Order
If an email address appears in multiple suppression lists, Broadcast follows this priority:
- Global suppressions always take precedence
- Channel-specific suppressions are checked for the sending channel
Integration with Email Sending
When a suppressed email address is encountered during sending: - The email is skipped automatically - The suppression is logged in the email activity - No error is generated (this is normal behavior)
Best Practices
When to Use Suppressions
Use suppression lists for:
- Bounced emails: Addresses that consistently bounce
- Spam complaints: Addresses that have marked your emails as spam
- Legal compliance: Addresses that have requested removal
- Internal testing: Test addresses that shouldn't receive production emails
Maintaining Your Lists
- Regular cleanup: Review your suppression lists periodically
- Documentation: Keep records of why addresses were suppressed
- Global vs channel: Use global suppressions for addresses that should never receive any emails
- Backup: Consider exporting your suppression lists as backups
Compliance Considerations
- Respect requests: Always honor suppression requests from recipients
- Legal requirements: Some jurisdictions require permanent suppression for certain types of requests
- Documentation: Keep records of suppression requests for compliance purposes
Troubleshooting
Common Issues
Q: Why isn't my suppression working? A: Check that the email address is spelled correctly and that you've selected the right suppression type (channel-specific vs global).
Q: Can I export my suppression lists? A: Export functionality is planned for a future release. Currently, you can view and search your suppressions through the interface.
Q: What happens to existing scheduled emails? A: Suppressions are checked at send time, so any scheduled emails to suppressed addresses will be automatically skipped when they're due to be sent.
Q: Are suppressions case-sensitive? A: No, email addresses are normalized to lowercase, so suppressions work regardless of the case of the original email address.